More penguin themed stuff from the birthday party! Who doesn't love party hats for a birthday party?
We made our own and they turned out adorable!!!!!!!!!
How to Make:
1. Cut out penguin shape from black construction paper. (a combined oval and circle)
2. Cut out black strip about the width of a ruler and long enough to go around child's head. You will need two strips for each hat if using construction paper. Tape or glue them together so they are long enough. Then glue to the penguin near the bottom.
3. Cut a slightly smaller penguin shape out of cardboard and glue to the back. This will help it stand tall when the child is wearing it.
4. Cut out a smaller white oval shape and glue on for belly.
5. Using a one-hole punch, punch dots out of colored paper for eyes.
6. Cut a small orange triangle for the nose.
7. Cut out flippers from black paper and glue to the back so they stick out to the side slightly.
8. Cut feet out of orange paper and glue to bottom. When the feet are dry, bend the feet up where feet meet the black paper as if the penguin were standing on them.
9. Cut a triangle out of colored paper to make a party hat for the penguin. Glue this to the (front) top of the penguins' head.
10. Decorate hat as you choose. (polka dots, stripes, plain, etc.)
11. To make tassel for the penguin hat: take a colored string about a foot long and fold it four times. Tie a not in the middle. On one side of the knot, cut the string just a little bit below the knot. Now, trim the tassels to the length desired. Glue knot to the back of the penguin hat.
12. When children come to the party, fit a hat on them and have fun!!!!!!!
MORE PENGUIN FUN!
The kids got to play Pin the Tummy on the Penguin.
The adults played a game seeing how many words they could get out of "Penguin Birthday Party". The prize for the winner was a can of sardines wrapped in white paper. I drew little fish on the can and wrote "Penguin Food". (forgot to take a picture).
The children got Penguin Party Favors (see previous blog post). These also worked great as a tie down for the helium balloons.
I should mention, we had everything penguin. Our lunch was even breaded fish sandwiches to complete the theme. They were served on black plates with white and black polka dotted cups and napkins.
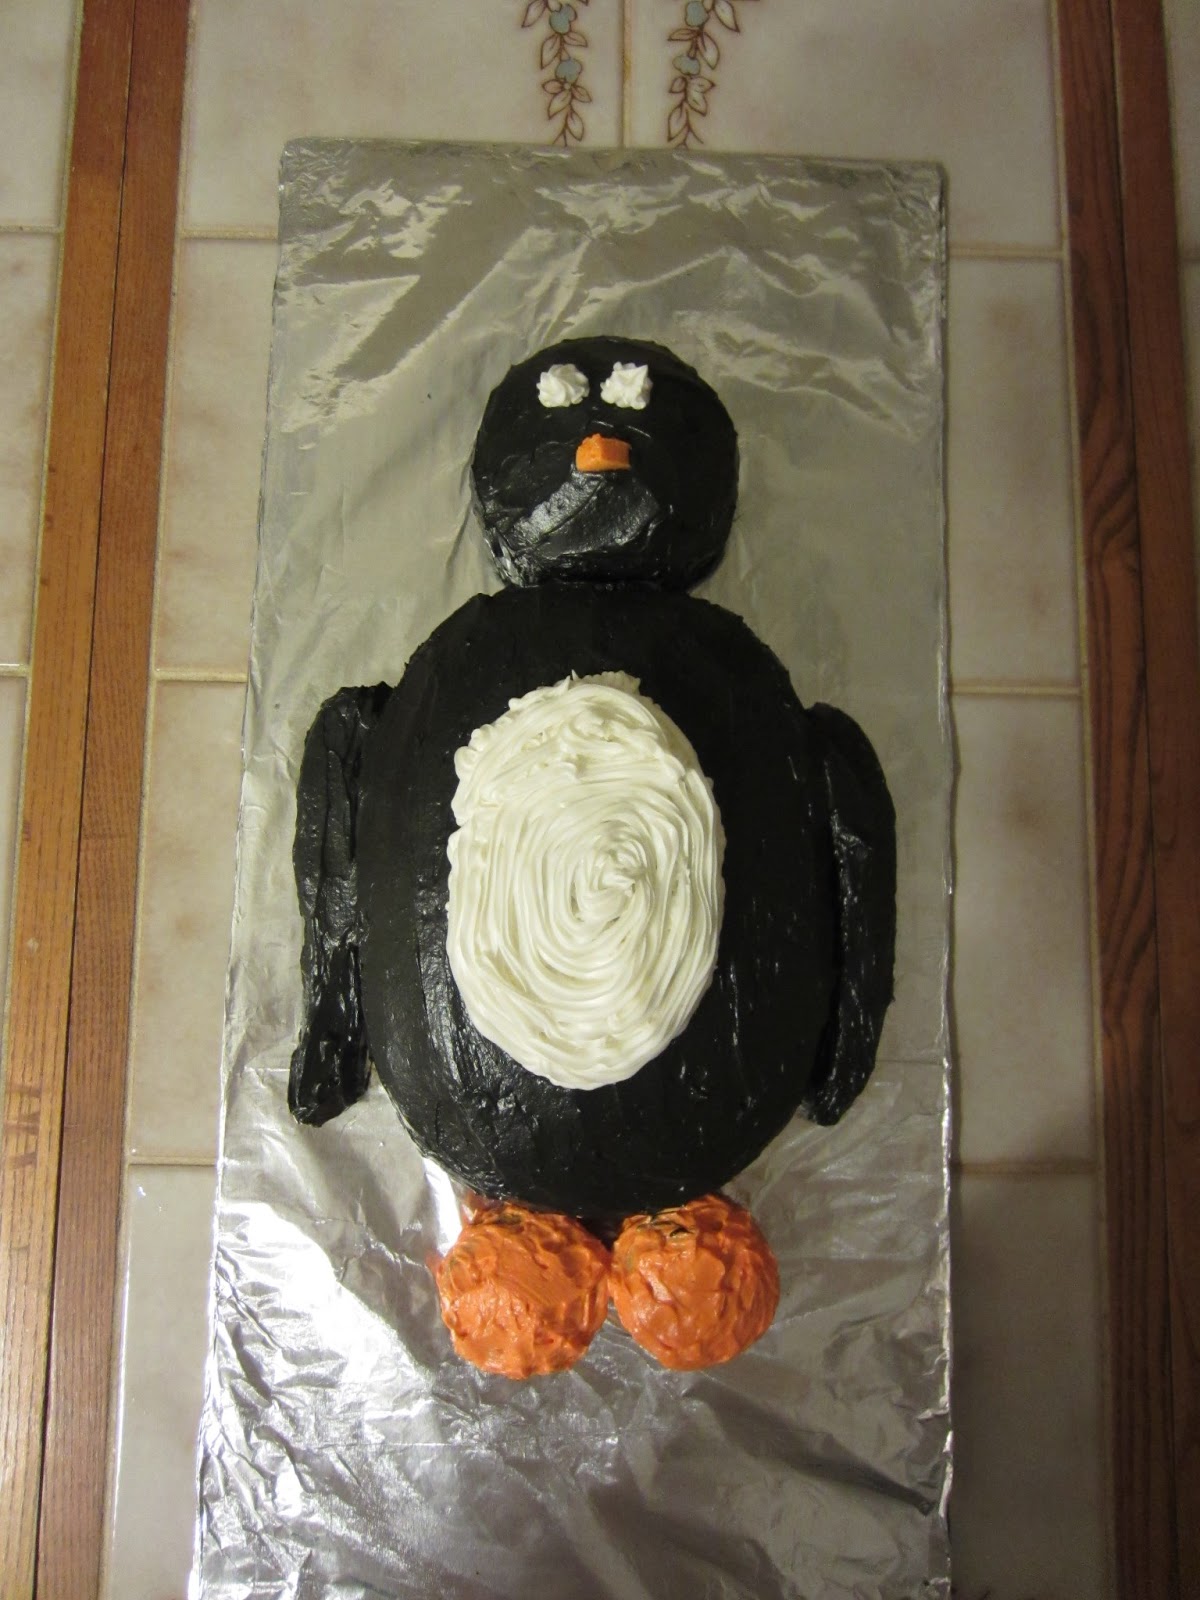
And, of course, no penguin party would be complete without a Penguin Cake!!!
This was my first attempt at decorating a cake. Didn't go great; didn't go horrible, but turned out pretty cute and yummy, too!
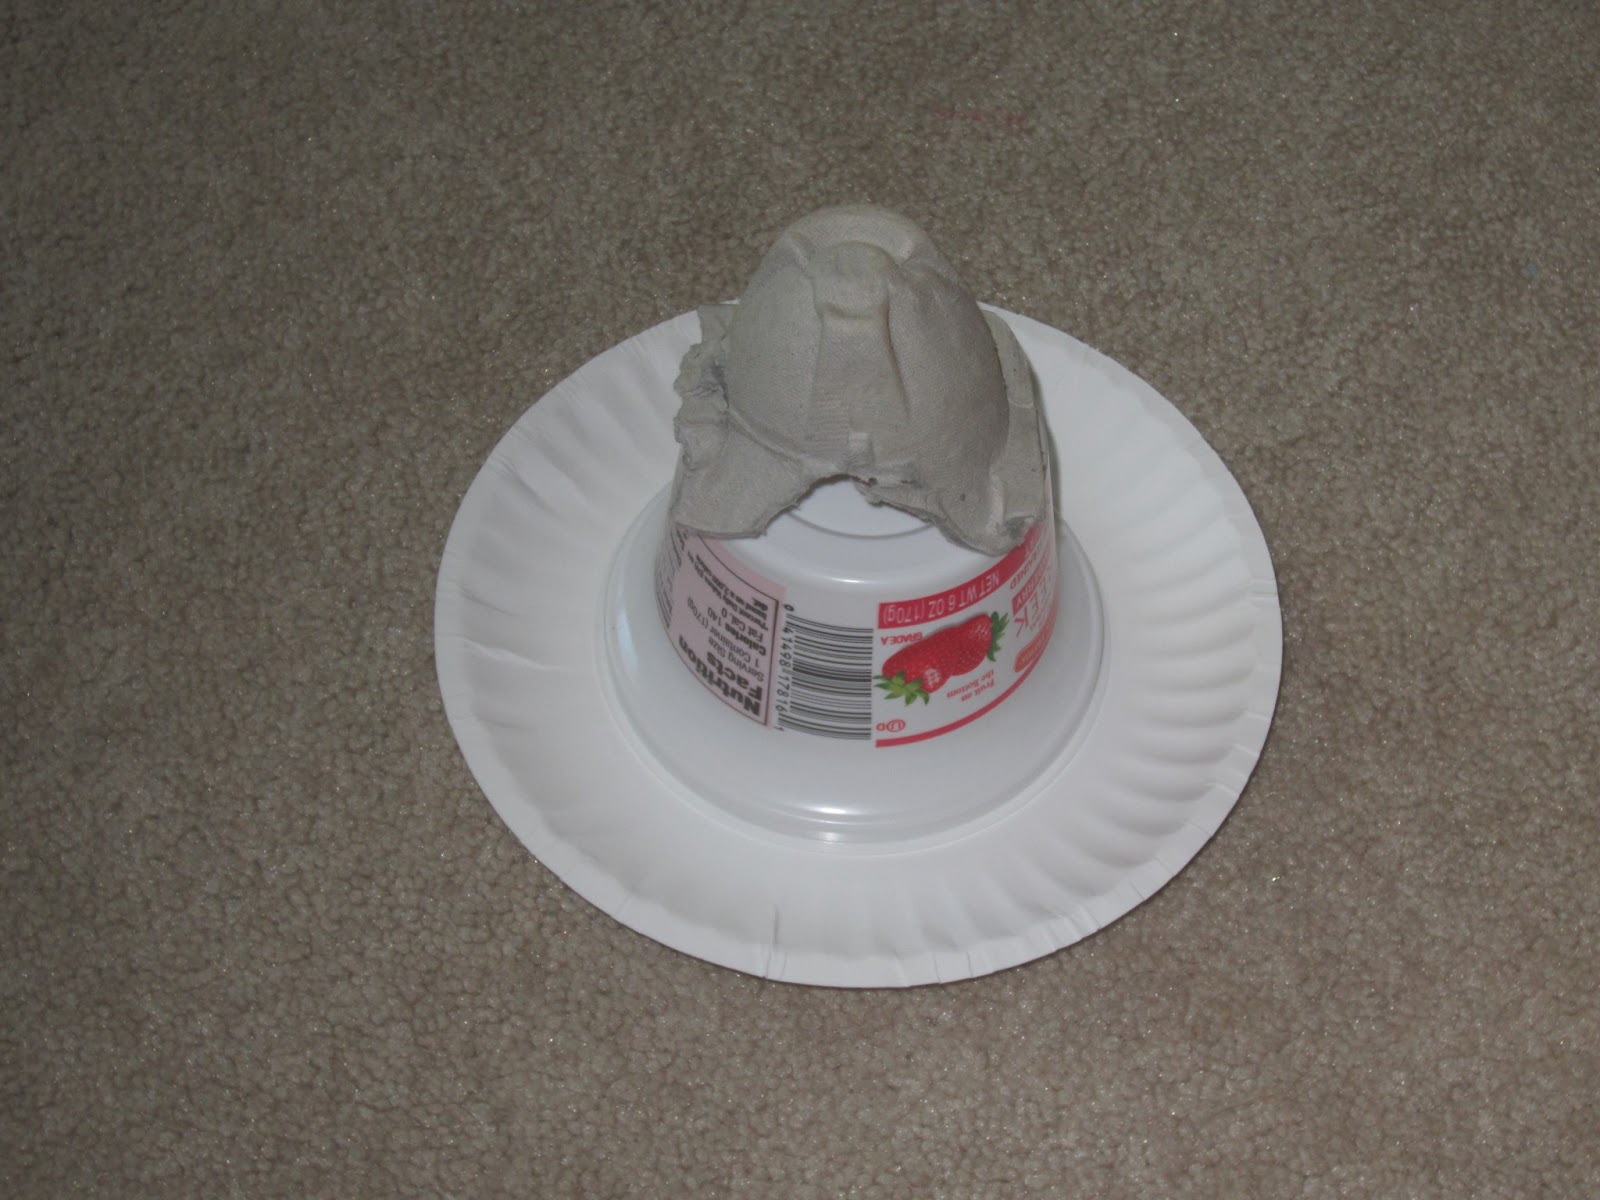
I'm sure glad I used easy shapes for this cake. I'm not sure I'll be able to do anything more advanced. The head was a small Corningware pan and the body and oval pan. The feet were two cupcakes. I originally had planned to outline the wings with white (on just the body). However, since I goofed up my first batch of cake, I had plenty cake to use as flippers. In all my cake decorating nervousness I forgot to add vanilla. As I was mixing up more batter for cupcakes (I was planning to make penguin cupcakes too. A friend had shown me an adorable picture of them from a book. Let's just say I didn't read the directions very thoroughly, couldn't find all the supplies I needed, and my quite quick attempt at ten o'clock at night on a busy and exhausting day, didn't work.)
Anyways, after that tangent, ten minutes after the cake was in the oven was when I realized I had forgotten the vanilla, so I added it after it had been in the oven. It actually turned out, too. But the perfectionist in me, couldn't let it go. Yep, I made another. As you can see, one flipper turned out fine. I cut it from the side of the first cake. The second one broke and every attempt to cut from the cakes middle, failed. It turned out the best it could with patchwork. The nose was a starburst cut in half. It pleased the birthday girl, but I'm requesting cake decorating classes. I have lots of questions.
It was very yummy! And we ate it on specially painted Penguin Party Plates that the own birthday girl did! She loved the craft!!!!!! I know what you are thinking, "you ate cake and vanilla/chocolate combo ice cream on plates that were painted by a three-year-old?" Yep! I've got you curious, don't I? Don't worry. I wouldn't feed food on anything where the paint could chip off into food. This has been one of me favorite craft ideas ever!!!!! And I'm sorry to disappoint you, but I'm not posting pictures or instructions, yet. It's an idea I'm writing up as an article to submit to a magazine. If I don't sell it, I'll post it hear. I'll keep you posted!
Love It!